반응형
기본 페이지 설정
static 폴더 아래에 만들어야 실행할때의 기본 위치로 암.
index.html
<!DOCTYPE html>
<html>
<head>
<meta charset="UTF-8">
<title>Insert title here</title>
</head>
<body>
	<h1>만만세</h1>
</body>
</html>

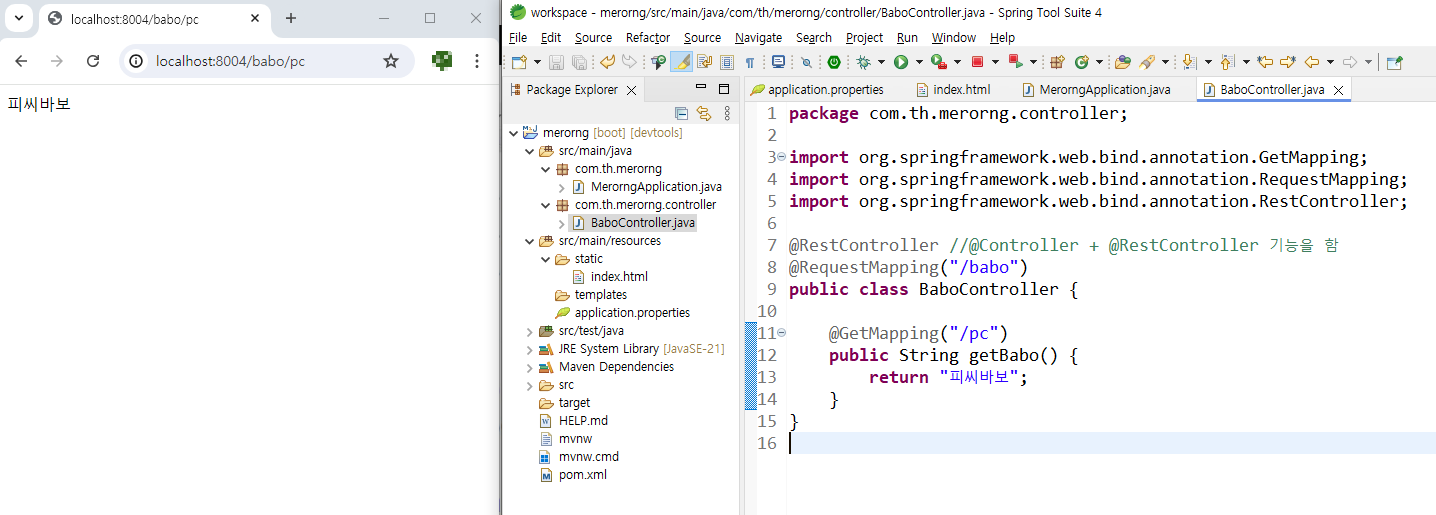
Cotroller 파일 생성 및 실습
BaboController.java
package com.th.merorng.controller;

import org.springframework.web.bind.annotation.GetMapping;
import org.springframework.web.bind.annotation.RequestMapping;
import org.springframework.web.bind.annotation.RestController;

@RestController //@Controller + @RestController 기능을 함
@RequestMapping("/babo")
public class BaboController {

	@GetMapping("/pc")
	public String getBabo() {
		return "피씨바보";
	}
}
fetch 사용 방법
- 1번 방법 : fetch then
BaboController.java
package com.th.merorng.controller;

import org.springframework.web.bind.annotation.GetMapping;
import org.springframework.web.bind.annotation.RequestMapping;
import org.springframework.web.bind.annotation.RestController;

@RestController //@Controller + @RestController 기능을 함
@RequestMapping("/babo")
public class BaboController {

	@GetMapping("/pc")
	public String getBabo() {
		return "피씨바보";
	}
}
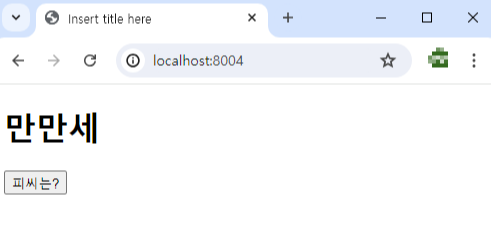
index.html
<!DOCTYPE html>
<html>
<head>
<meta charset="UTF-8">
<title>Insert title here</title>
</head>
<body>
<h1>만만세</h1>
<button id="pcBtn">피씨는?</button>

<script>
	//스크립트 자동완성 됨 (Ctrl + 스페이스로 자바스크립트 타입으로 변경해줘야함)
	const pcBtn = document.querySelector("#pcBtn");
	pcBtn.onclick = function(){
		fetch("/babo/pc").then((resp)=>{ //프라미스 타입으로 반환되기에 then를 사용할 수 있음
			//text 말고 json, blob 사용할 수 있음
			resp.text().then((retVal)=>{  //기본적으로 fetch를 사용할 경우 then을 두 번 씀
				alert("최종 서버가 돌려준 값: " + retVal);
			});
		});
	}
</script>
</body>
</html>


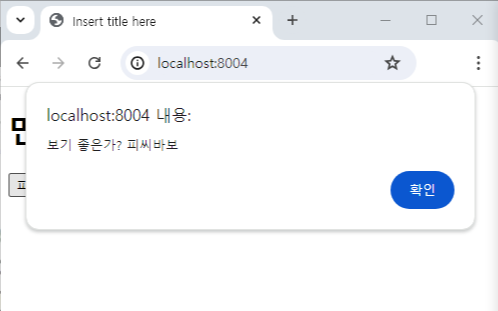
- 2번 방법 : async await
BaboController.java
1번 방법과 같은 컨트롤러 내용
index.html
<!DOCTYPE html>
<html>
<head>
<meta charset="UTF-8">
<title>Insert title here</title>
</head>
<body>
<h1>만만세</h1>
<button id="pcBtn">피씨는?</button>

<script>
	//스크립트 자동완성 됨 (Ctrl + 스페이스로 자바스크립트 타입으로 변경해줘야함)
	const pcBtn = document.querySelector("#pcBtn");

	//async/await 세트를 잘 쓰면 Promise에 대응하는 가독성이 높아짐
	async function fetchData() {
		let resp = await fetch("/babo/pc"); //promise이기에 then 대신 await를 사용할 수 있음
		let retVal = await resp.text(); //await를 사용하기 위해선 async 함수여야함
		alert("보기 좋은가? " + retVal); //아래와 같이 함수를 하나 필수로 만들어야함
	}

	pcBtn.onclick = function(){
		fetchData();
	}

</script>
</body>
</html>
반응형
'스프링 부트' 카테고리의 다른 글
| [스프링 부트] 프로젝트 생성 시 설정 및 진행1 (0) | 2024.07.11 |
|---|---|
| [스프링 부트] jsp로 데이터 전달 (0) | 2024.07.10 |
| [스프링 부트] lombok 파일, 로그 레벨, jsp 파일 사용을 위한 설정 (0) | 2024.07.10 |
| [스프링 부트] sts4 설정 및 실행 방법 (0) | 2024.07.10 |
| [스프링 부트] spring boot 설치 및 amazon corretto, sts4 설치 (0) | 2024.07.10 |